Set up your first Kotlin Multiplatform project for Android and iOS: April 2020

Most of the time, when we’re testing a new technology the most difficult part is having everything up and running. With this in mind and after talking with some people that were having some problems to compile a sample project with Kotlin Multiplatform on Android and iOS I’ve decided to write this article:
A lot has improved since last year, and with it the number of additional steps to run the sample that comes with IntelliJ IDEA. Nonetheless, the process is not quite direct, so here it goes the updated version of:
Set up your Kotlin Multiplatform project
I’ve updated all my tools, so I’m currently using:
Operating System
macOS Catalina Version 10.15.3
IntelliJ IDEA
IntelliJ IDEA 2020.1 (Ultimate Edition)
Xcode
Version 11.3.1
Note: you can do almost everything on IntelliJ IDEA for Android, there’s no need to have another IDE using up resources.
How to start?
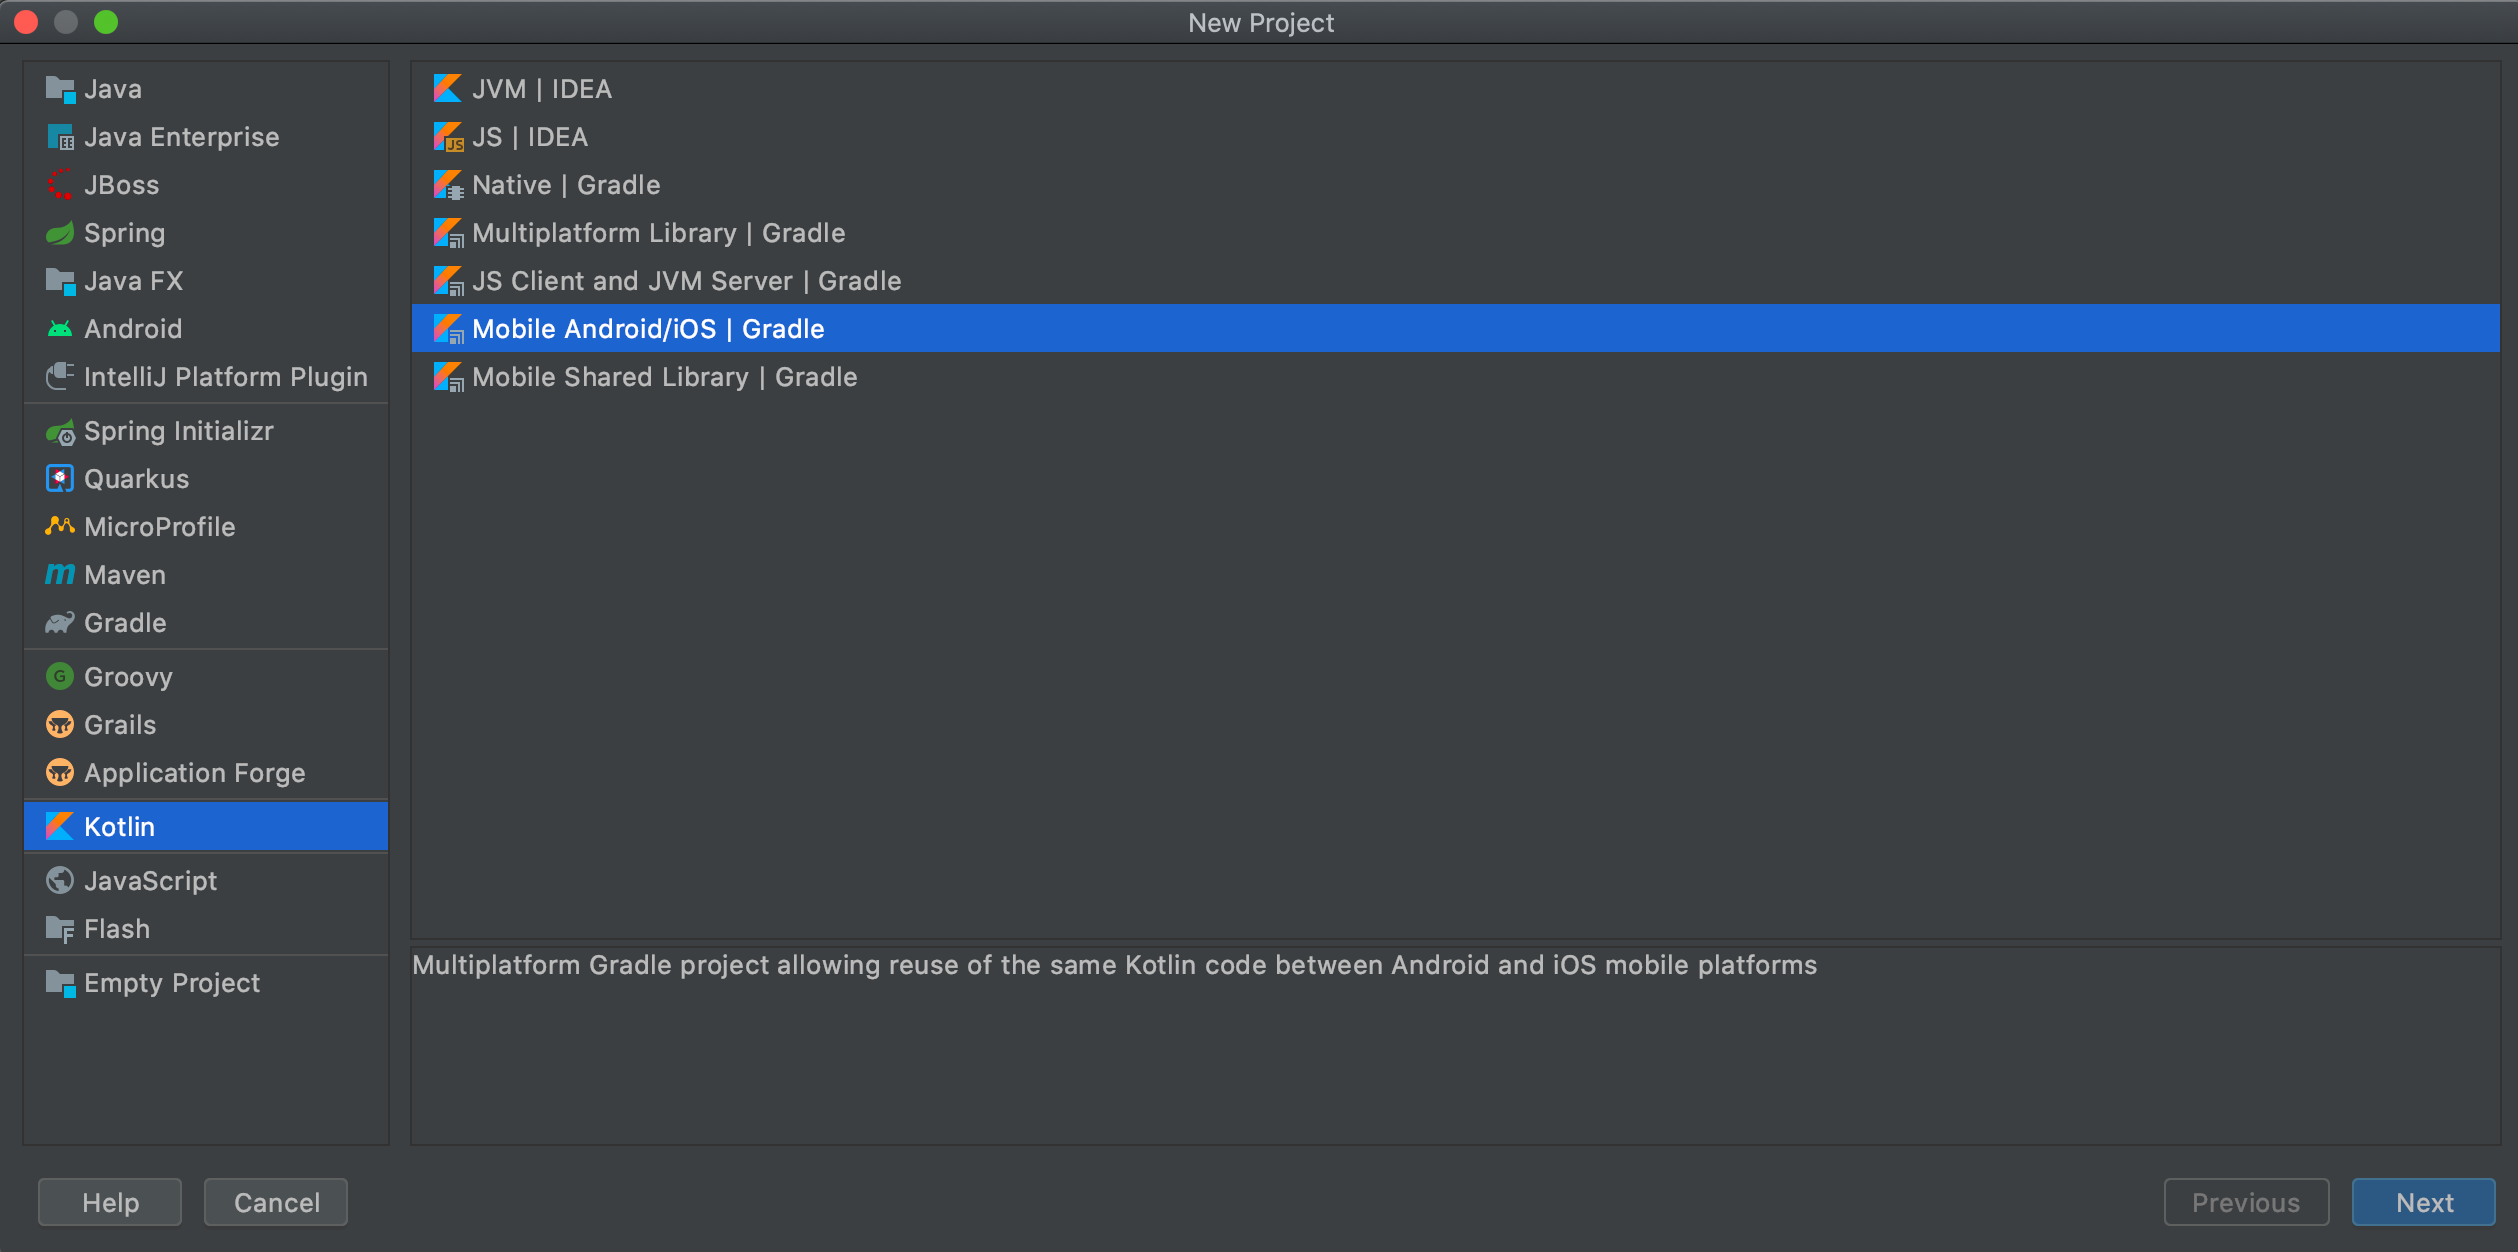
- Open IntelliJ IDEA and select “Create New Project”
- Select “Mobile Android/iOS | Gradle” and hit “Next”
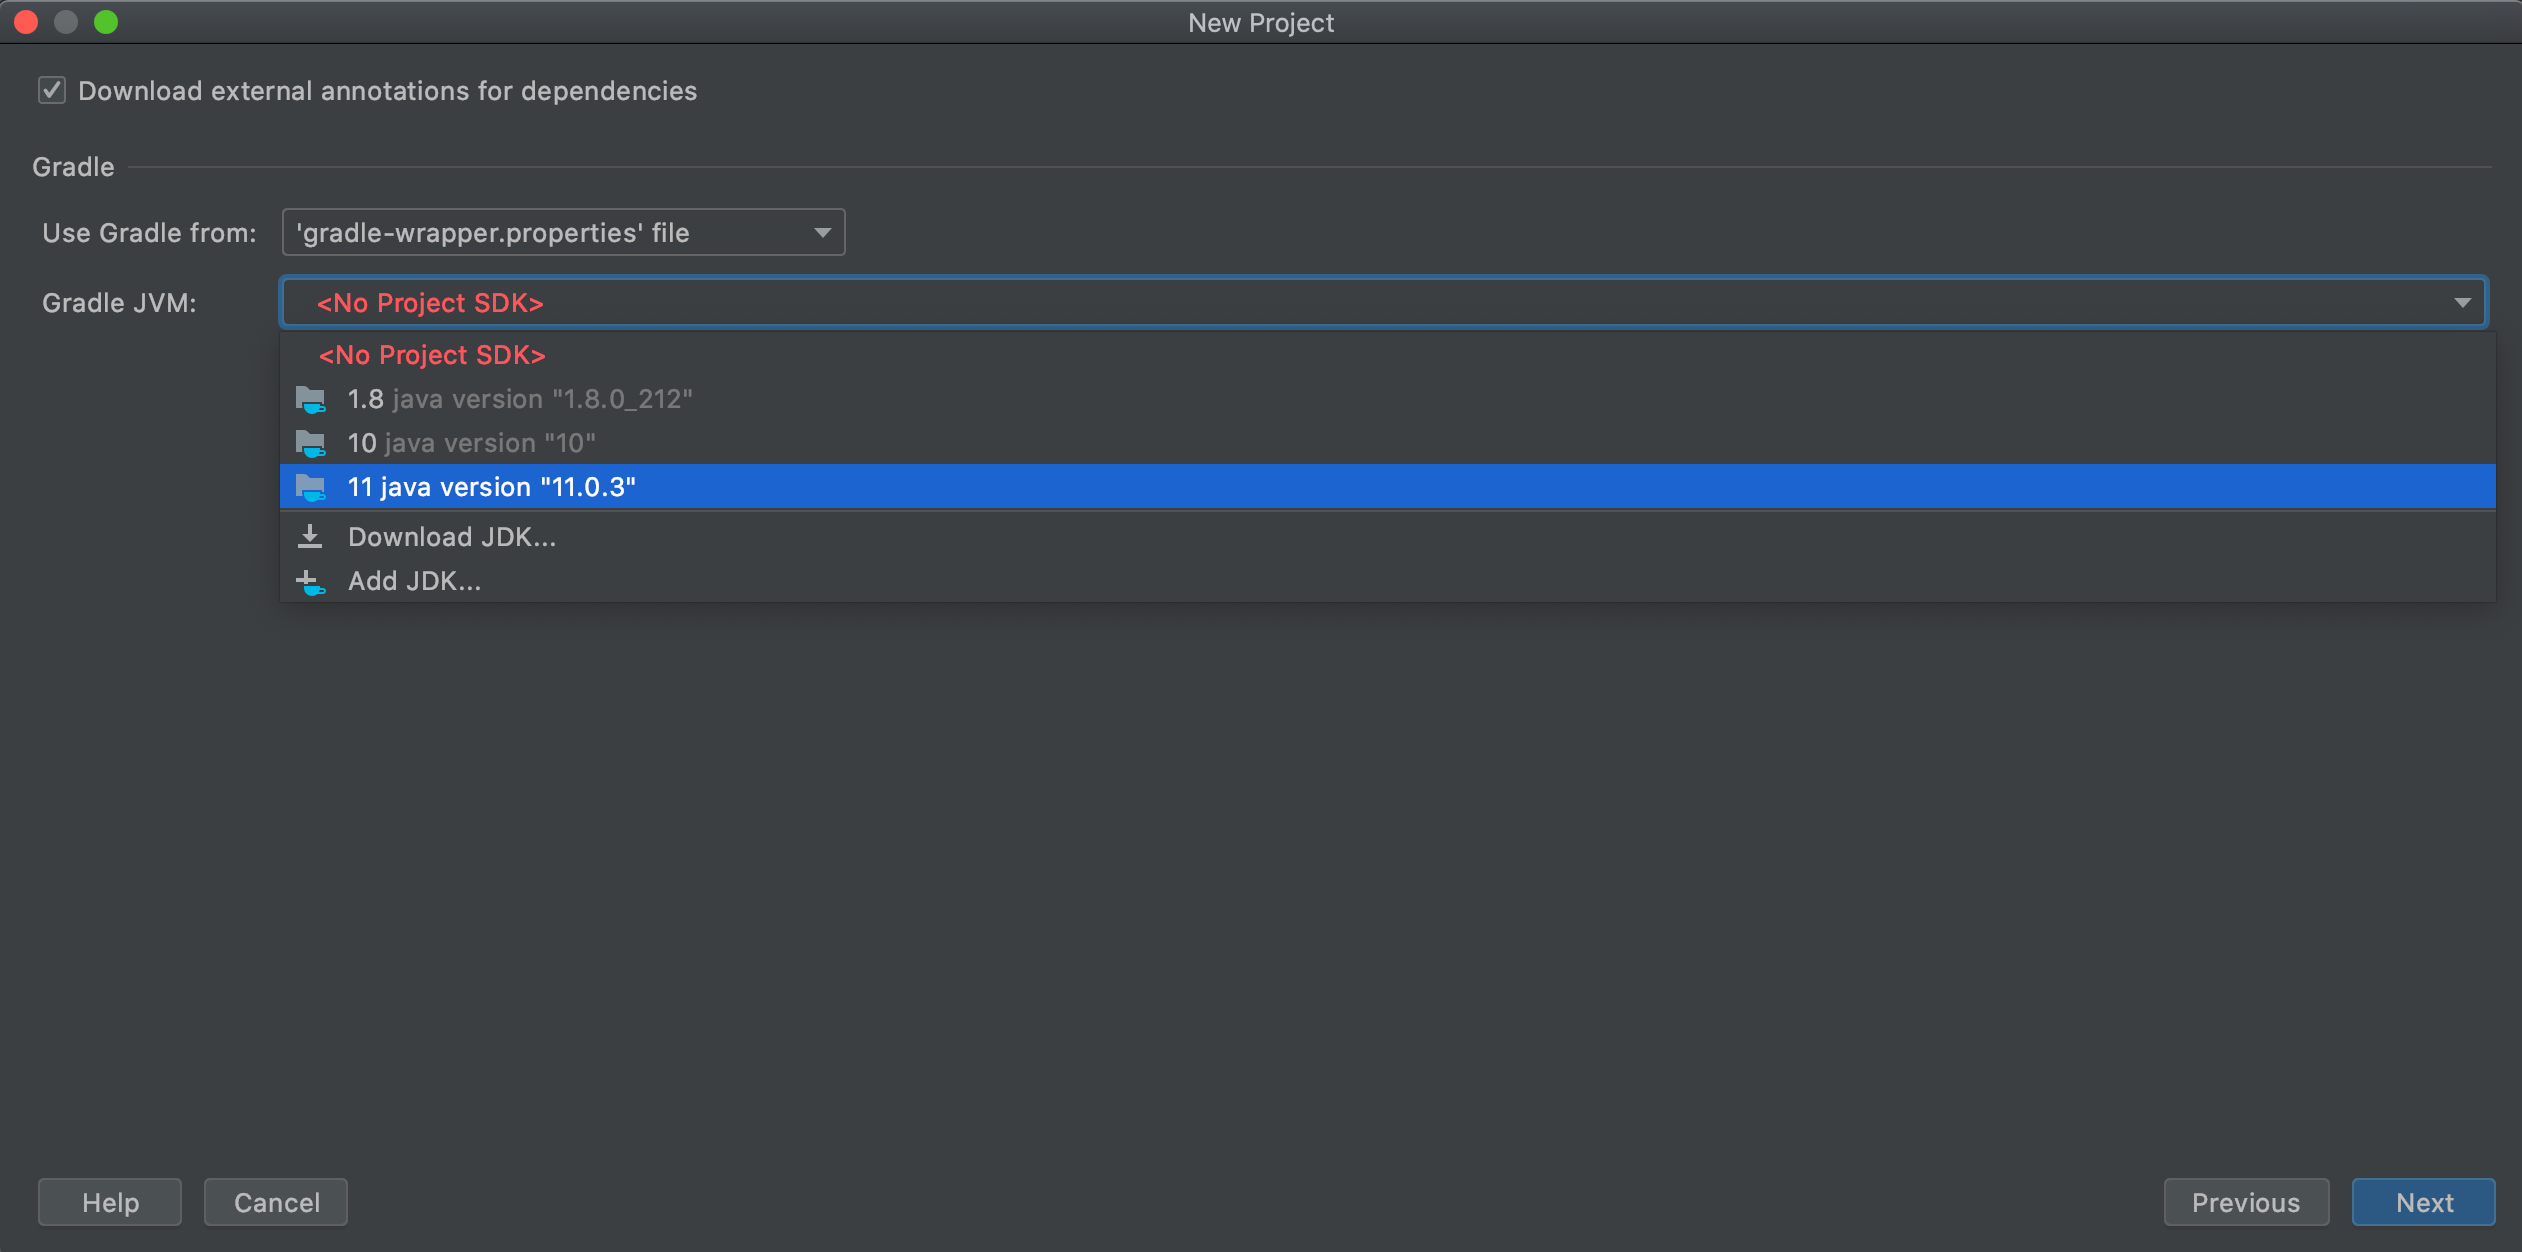
Create a new android/ iOS project on IntelliJ - Select the Gradle JVM (if it’s not defined). I usually select the last version
Select the Gradle JVM version for your project - Write “Project name” and select “Project location”
- Click on “Finish”
- The project will start to sync and fetch its dependencies.
Most certainly this will fail with a similar error:
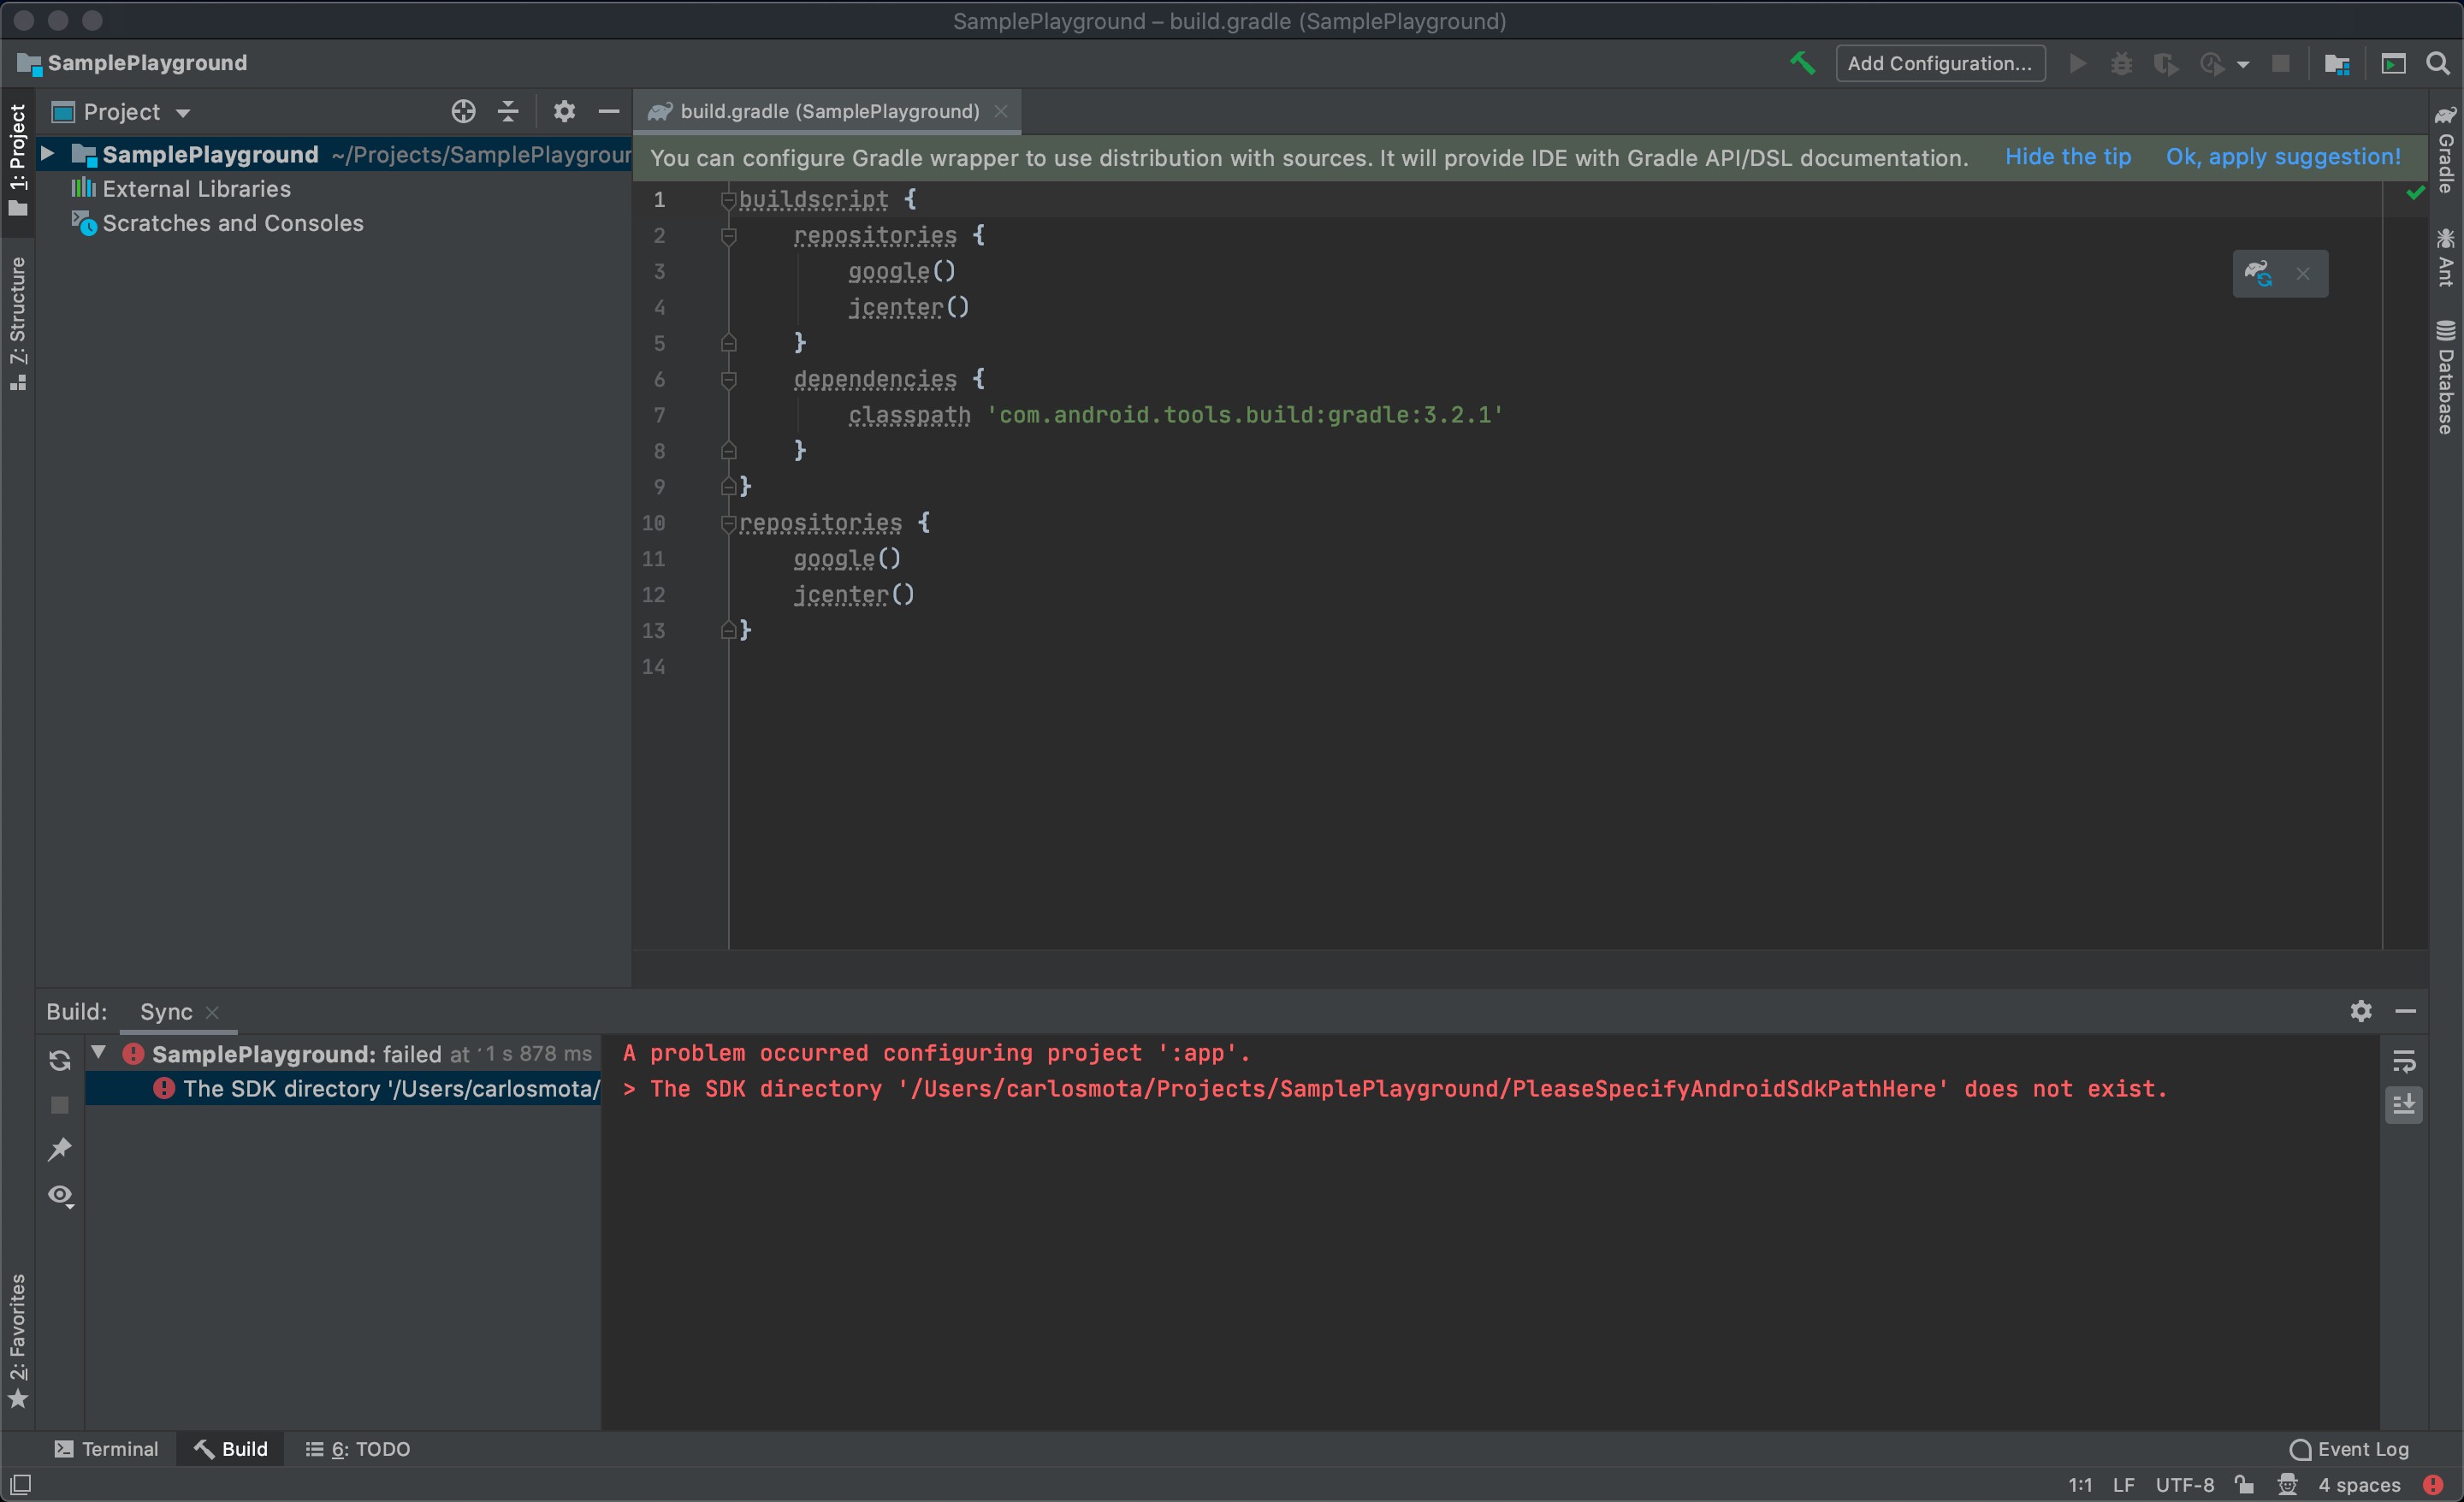
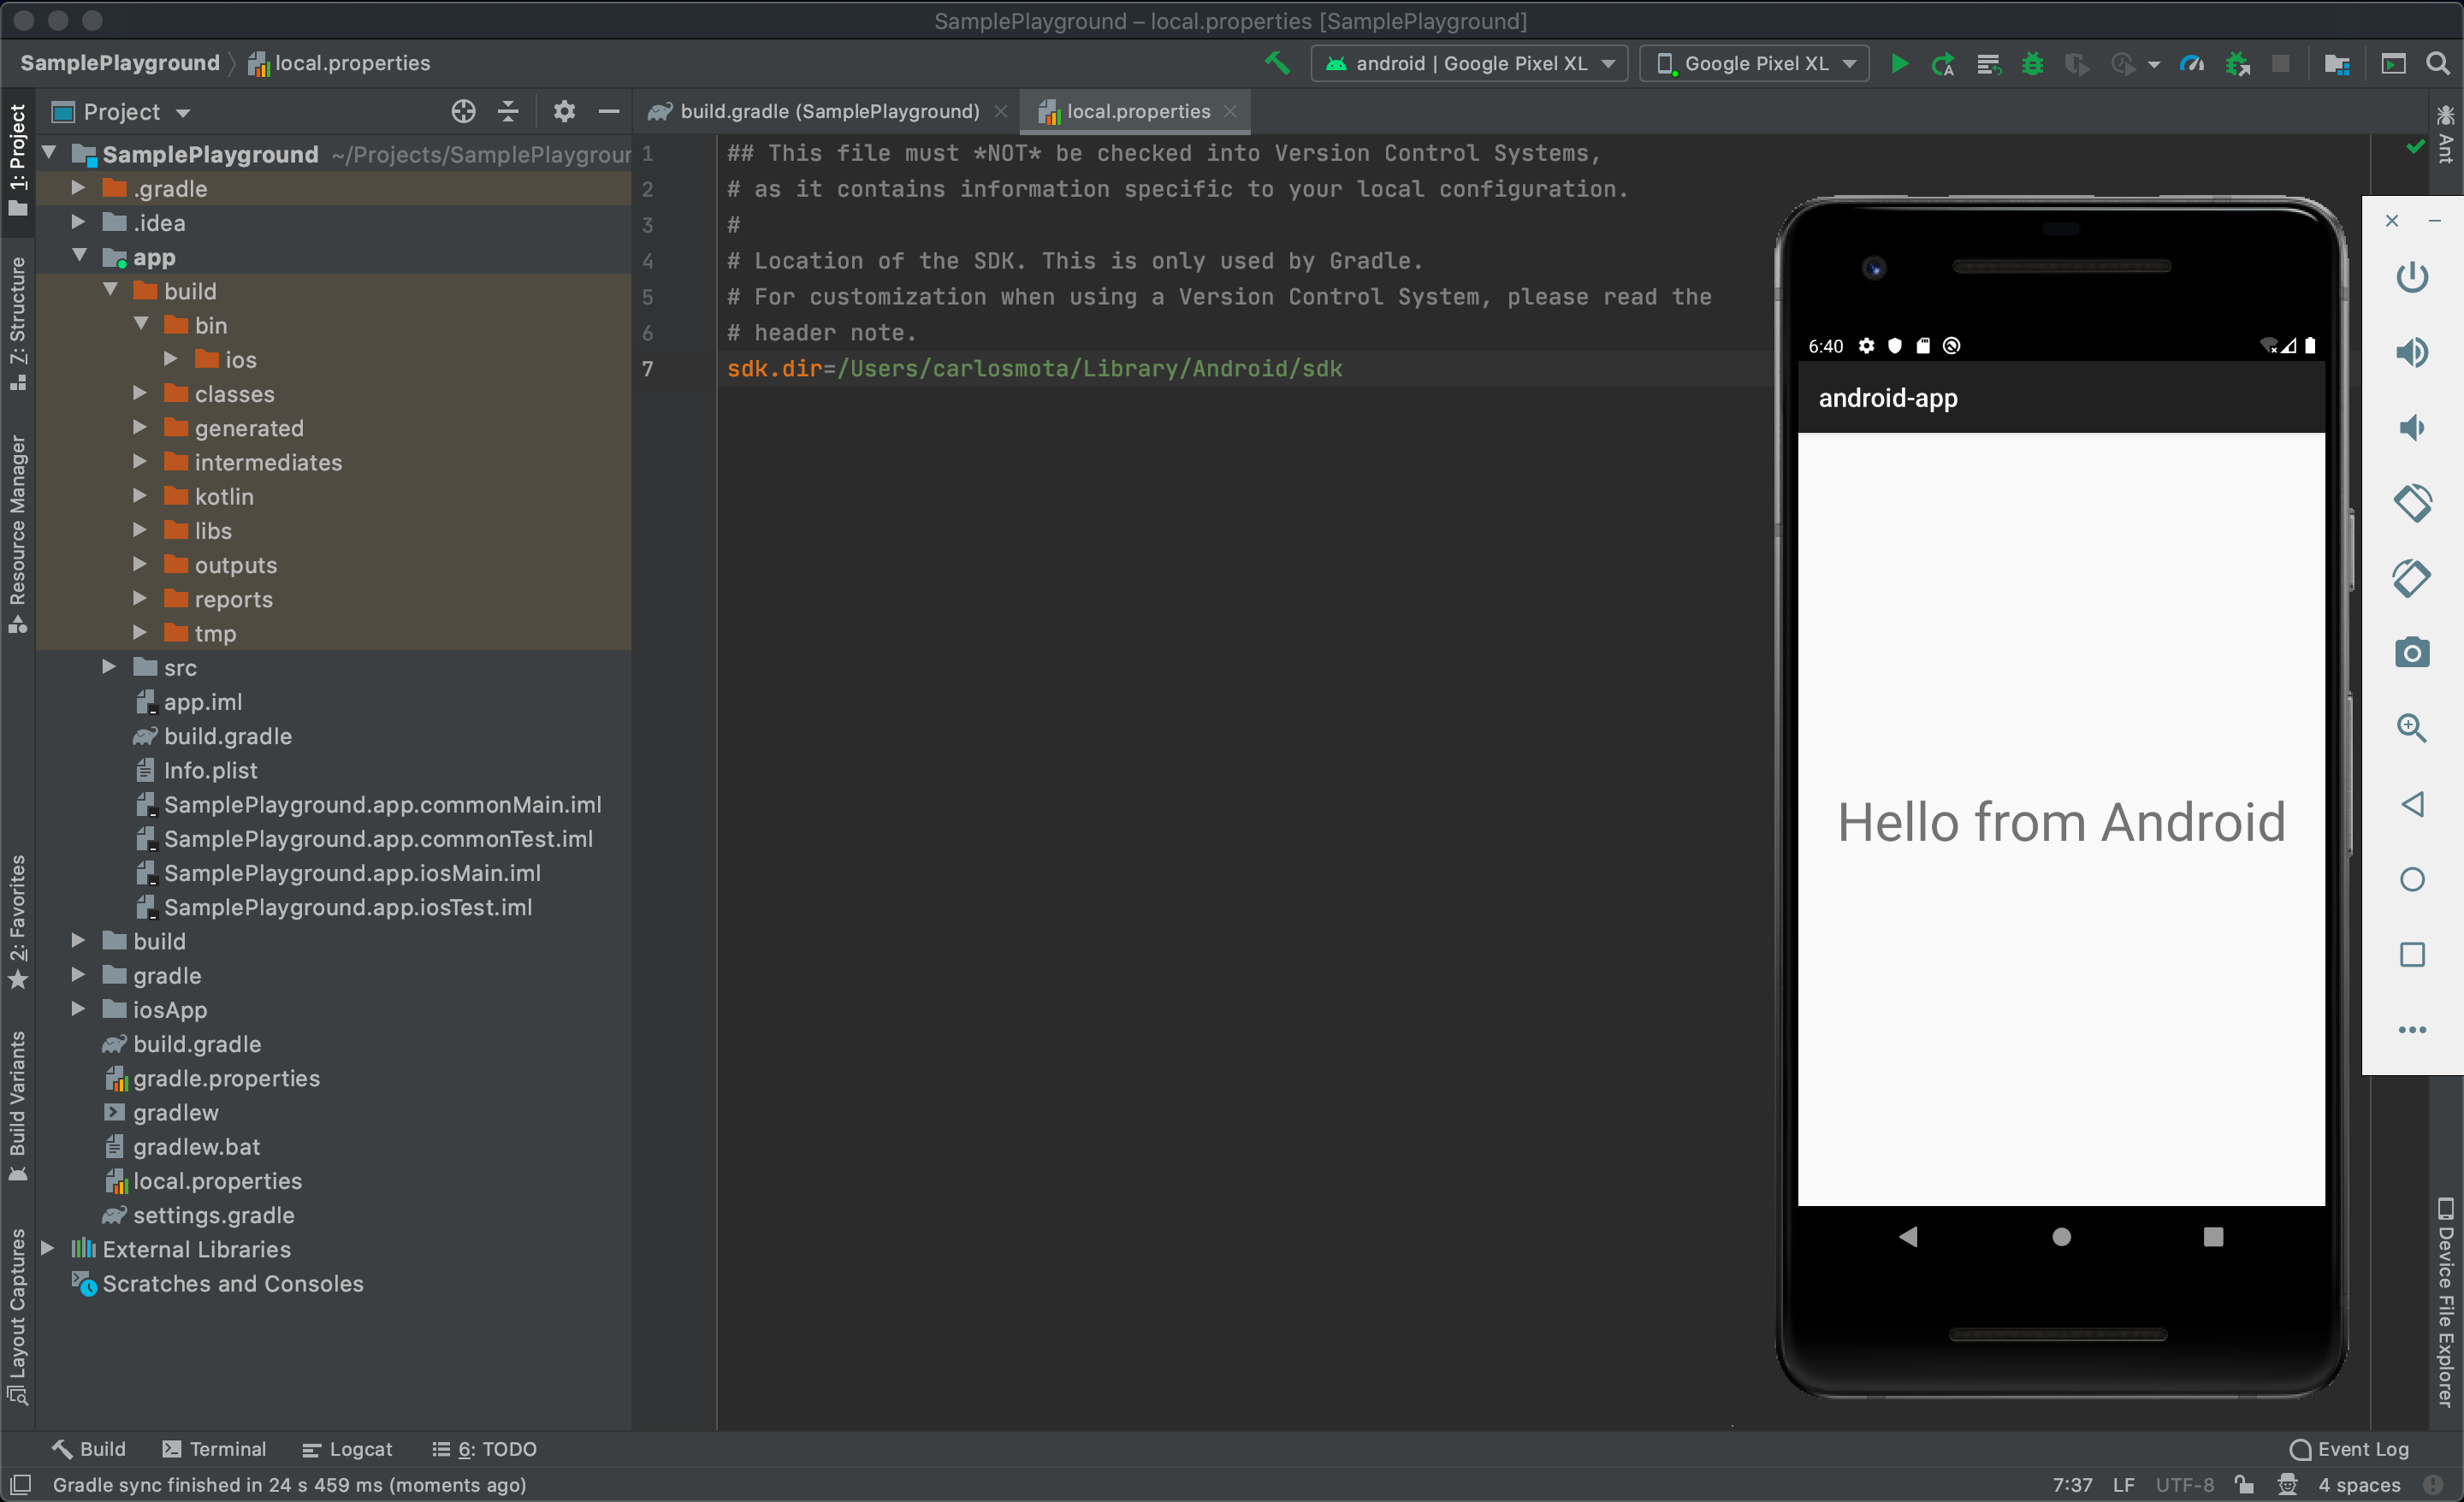
This can easily be fixed by opening the file local.properties and update the path for the sdk.dir .
sdk.dir=/Users/$(whoami)/Library/Android/sdk
- In order to re-start the synchronization, go to the Gradle side tab and click on the refresh icon.
- The project should now sync and afterward, you should see a couple of ticks ✔️on the tasks.
Add Android configuration
Now that we have the project ready, let’s add the Android configuration so we can compile and run the sample our Android device/ emulator:
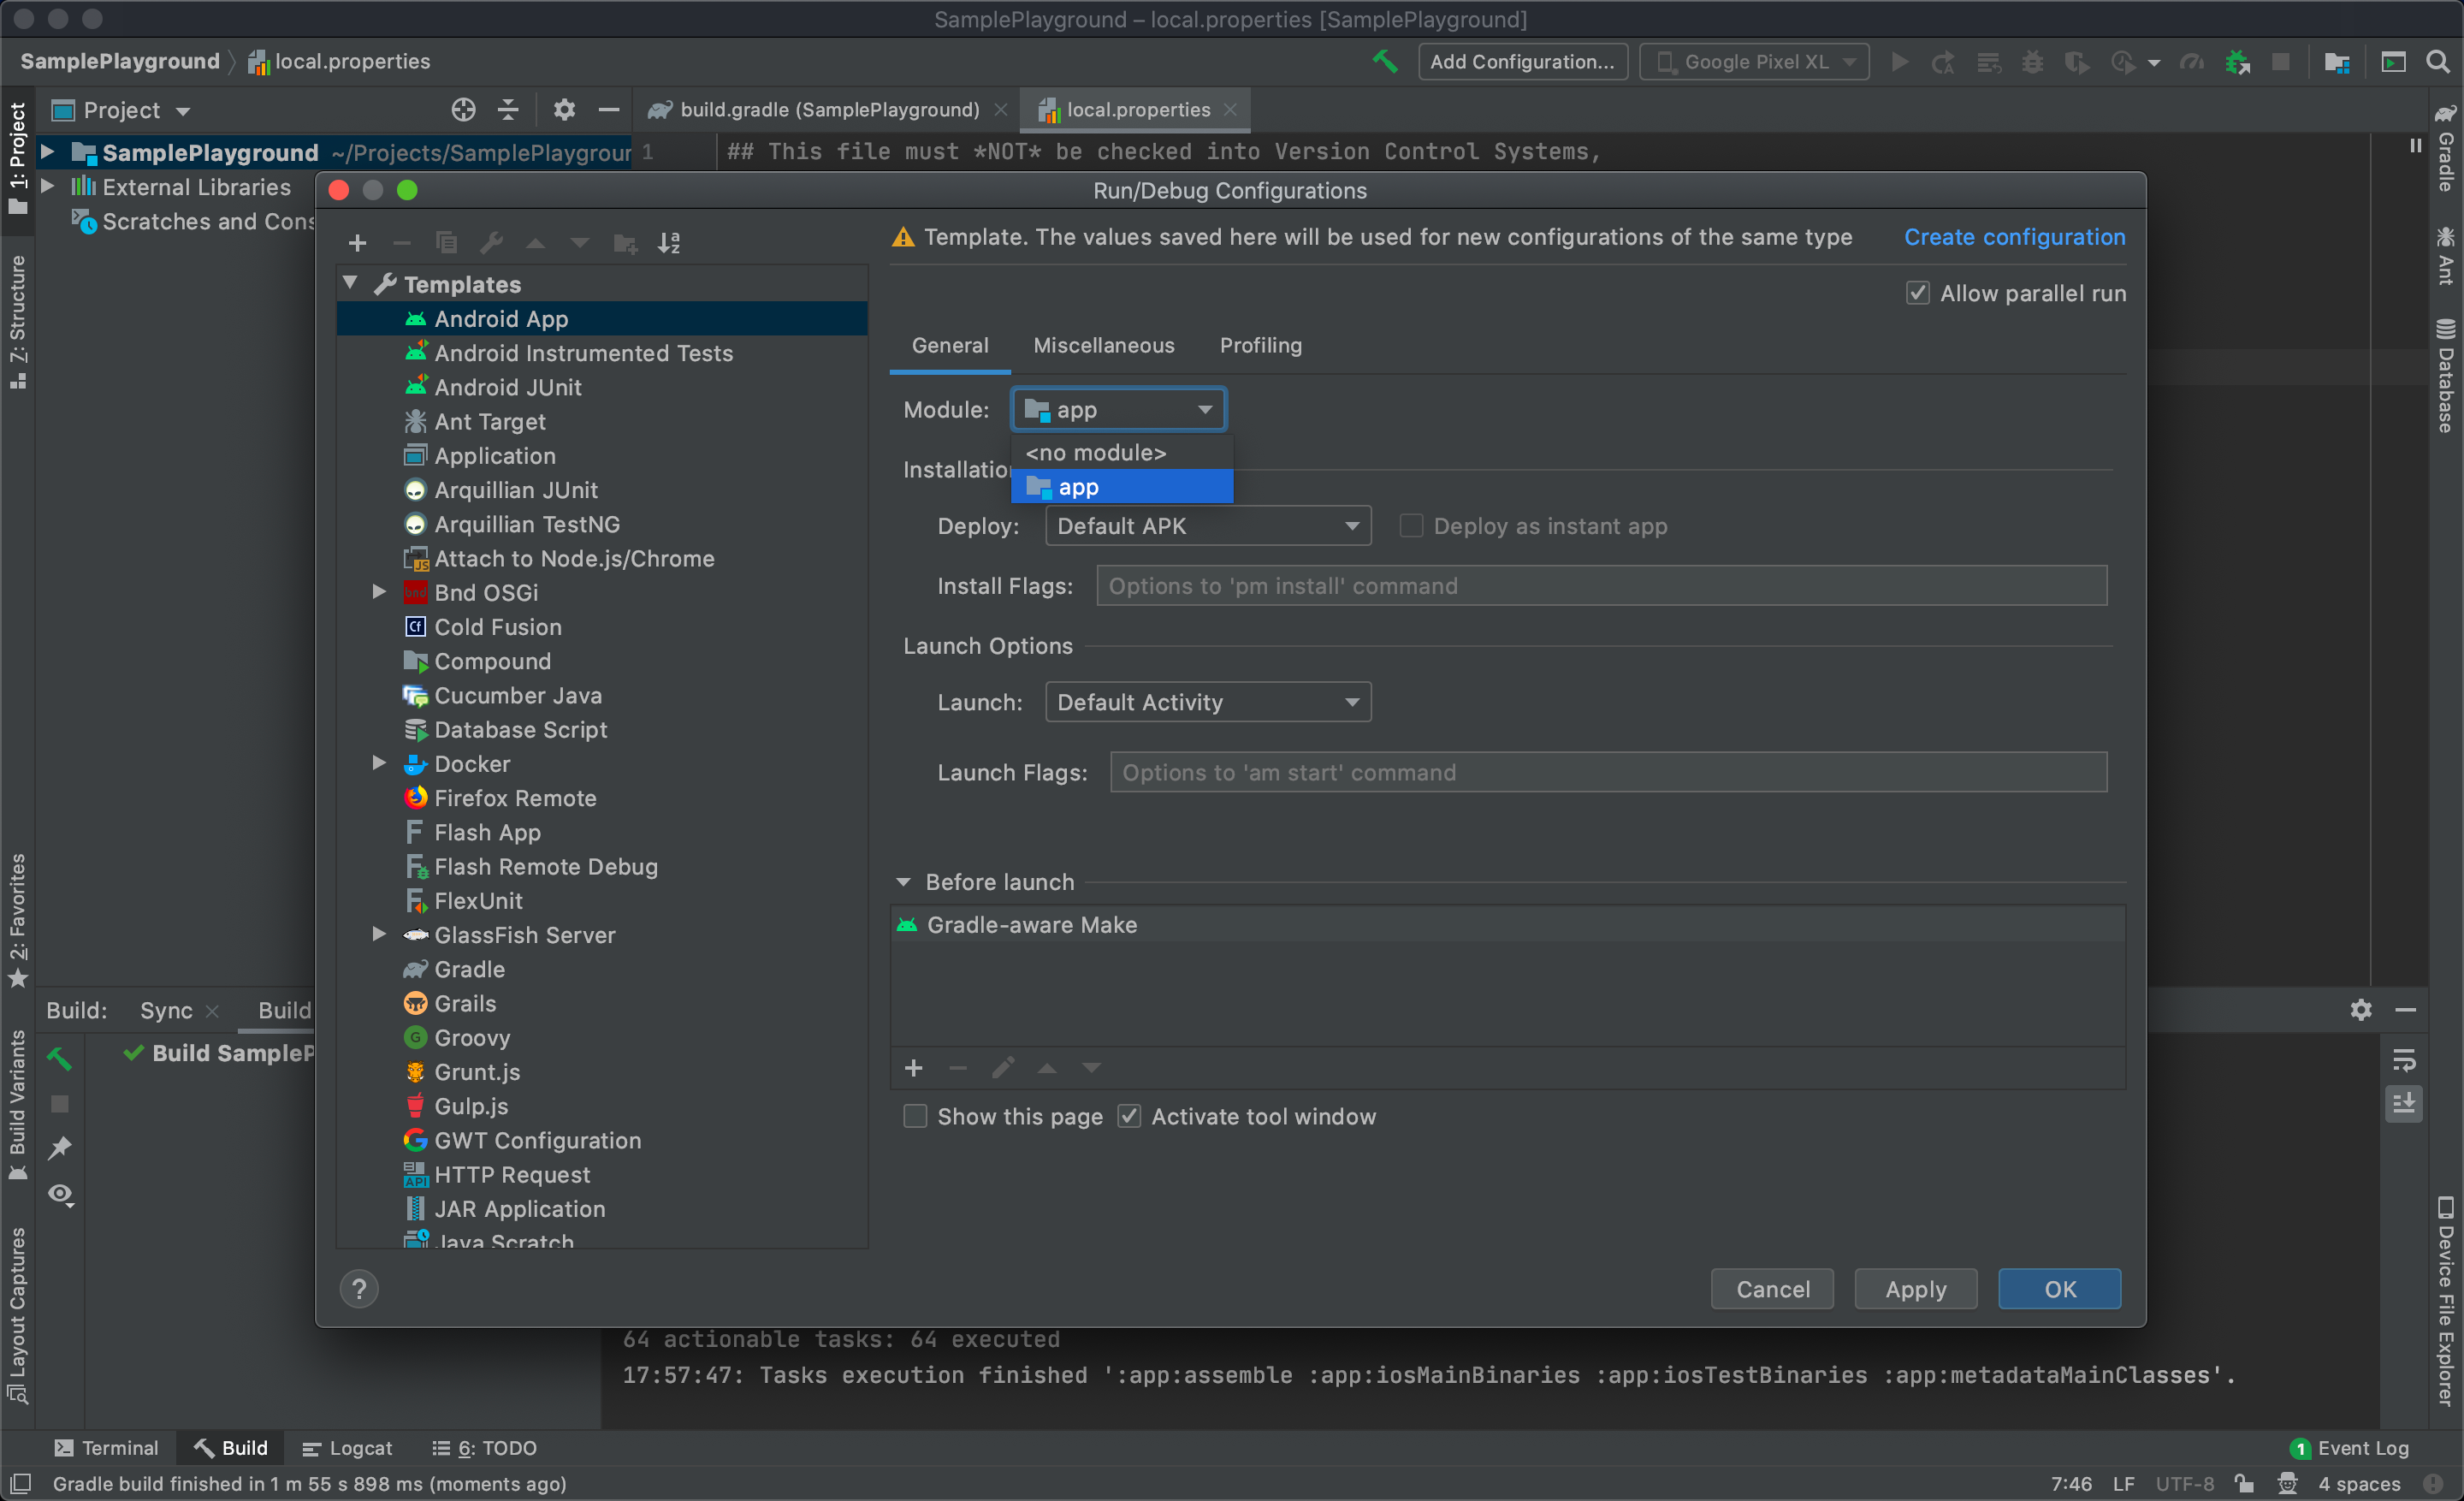
- Click on “Add Configuration” on the top toolbar
- On the left panel select “Android App”
- Click on “Create configuration”
- Add a name to your configuration and select the module “app”
- Click on “Apply” and then “OK”
Now let’s click on the green arrow on the left of your configuration and in a few seconds the project will be compiled and the app installed on your Android device/ emulator.

Note: if you look at the left panel, you’ll see the build folder with all the generated files, like it usually happens on Android development.
Add iOS configuration
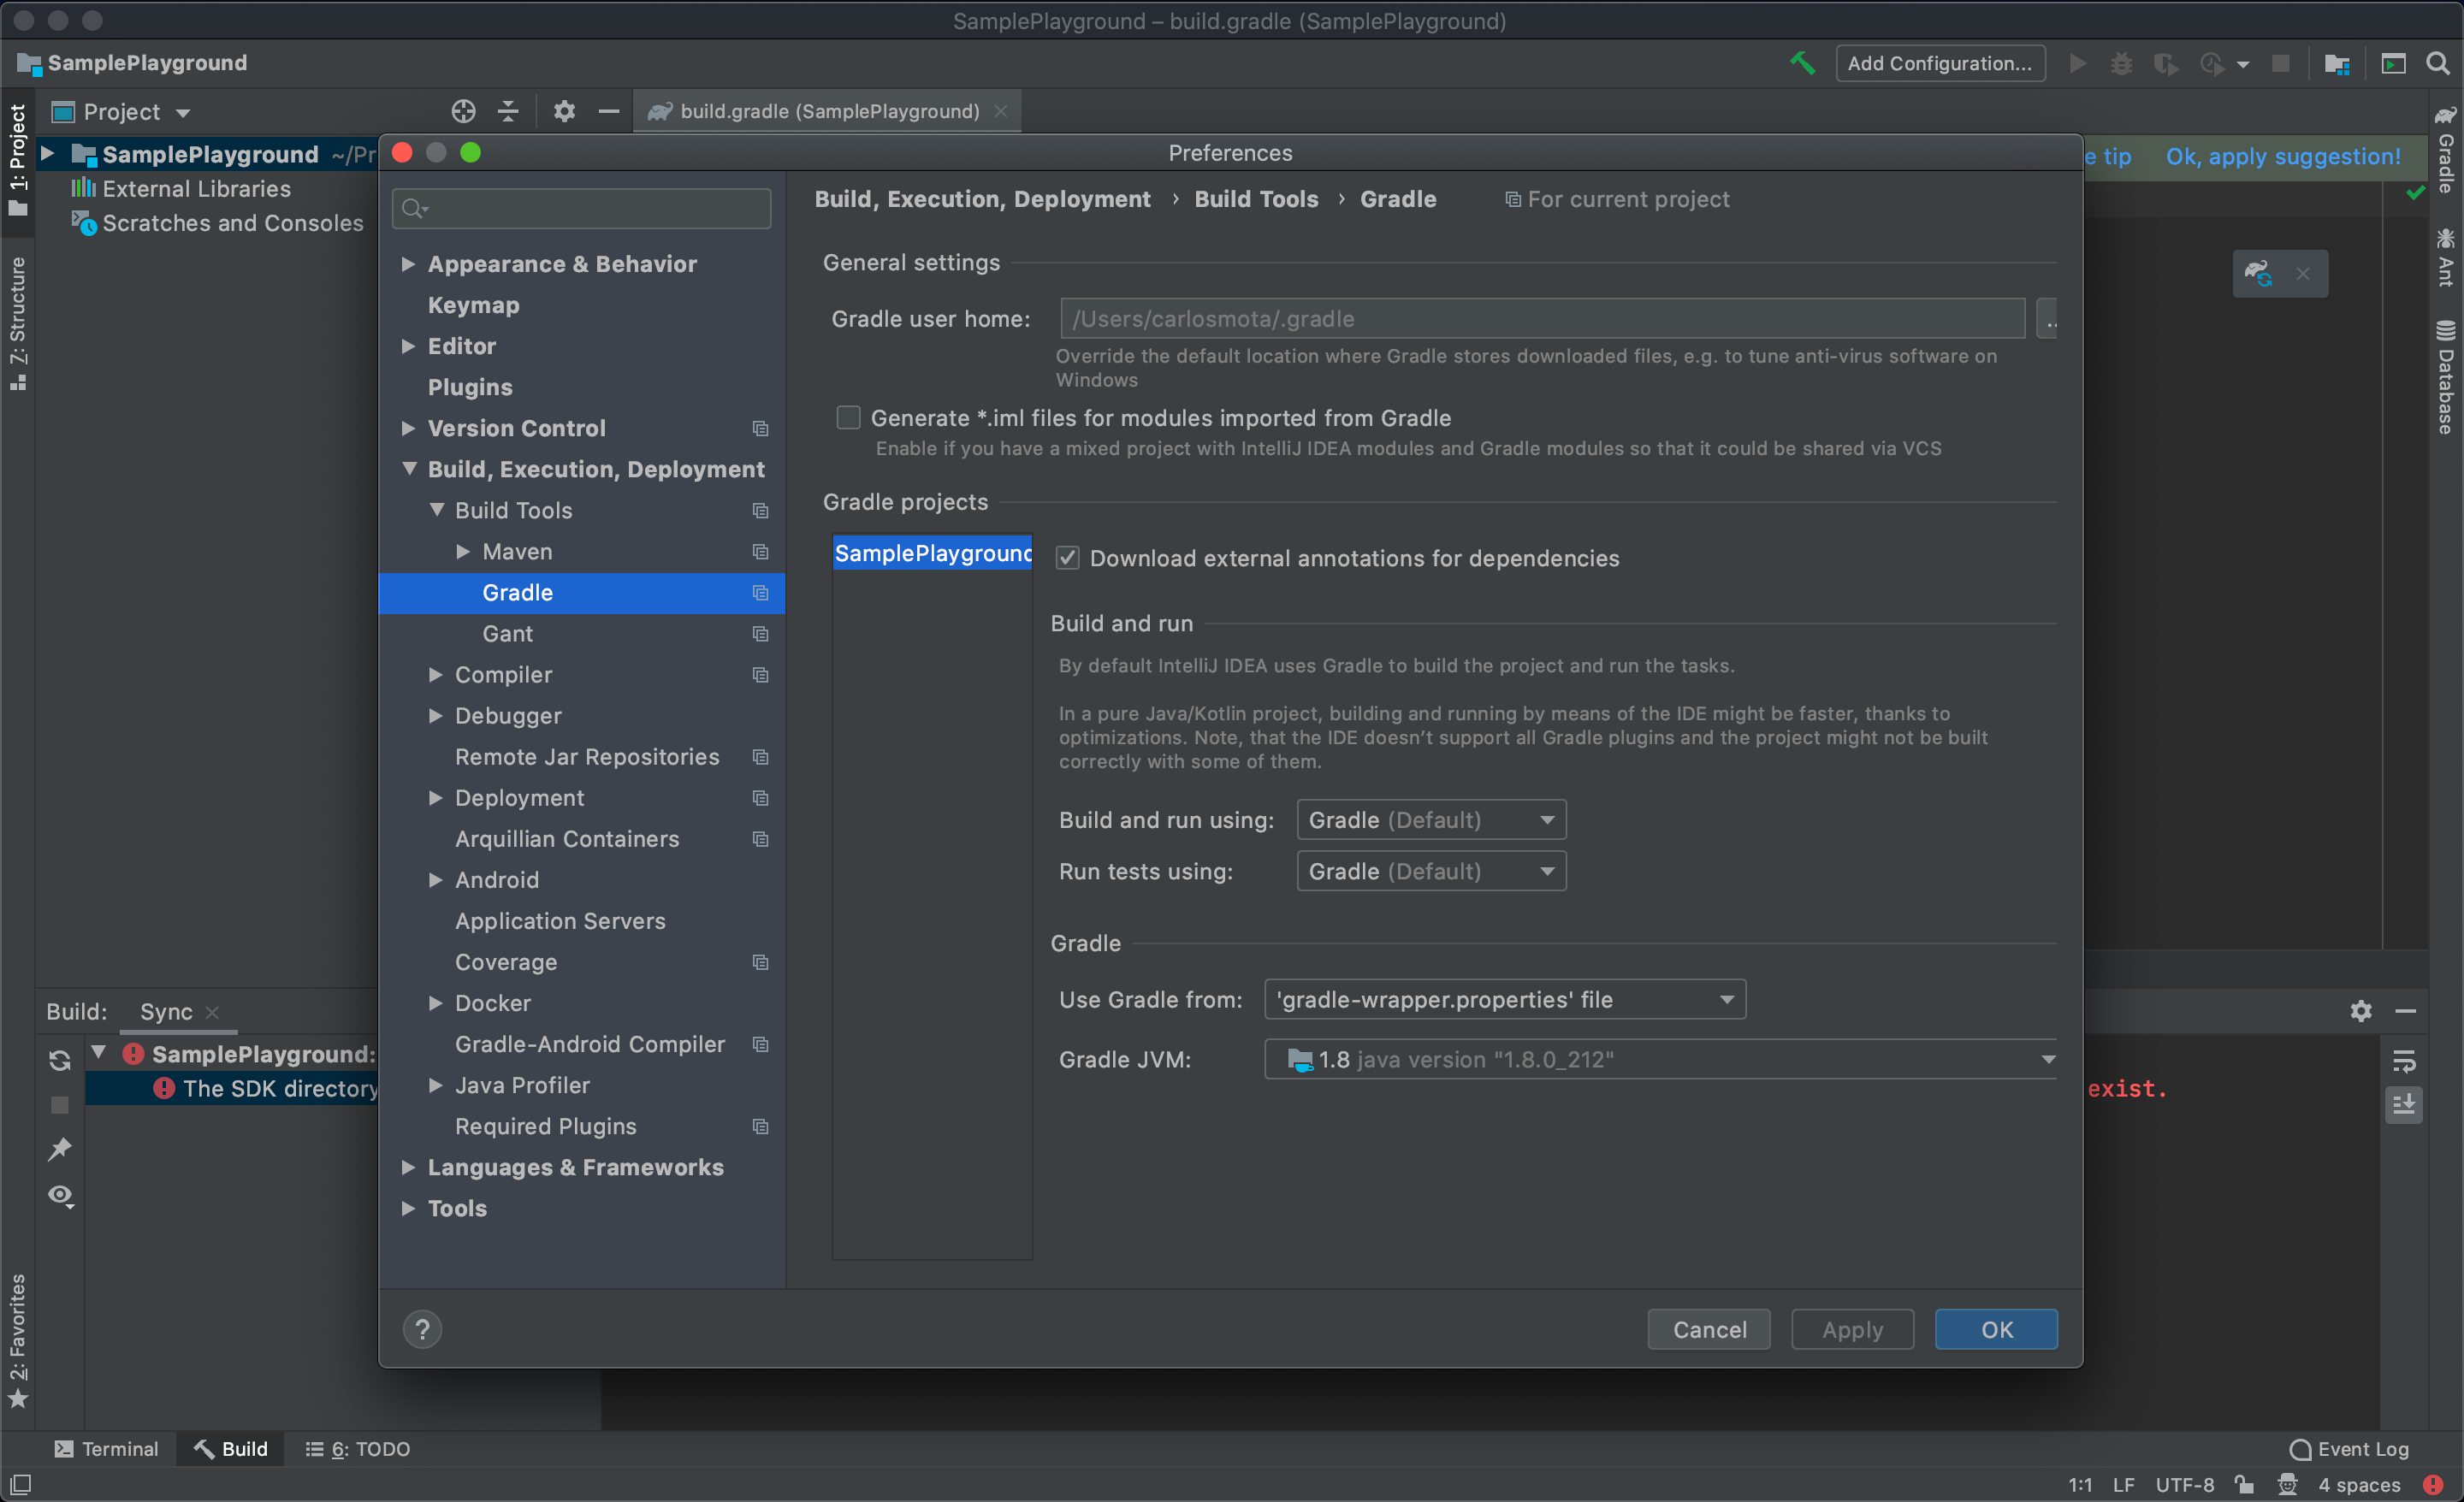
Now it’s to compile the app for iOS! Before we start let’s start by checking the configurations of our IntelliJ IDEA, go to:
- IntelliJ IDEA → Properties
- Build, Execution, Deployment → Build Tools → Gradle
And confirm that Gradle is set as default both on “Build and run using” and “Run tests using”.
Now that these compilation flags are defined and before opening Xcode let’s start by building our project on IntelliJ IDEA, this time instead of clicking on the green arrow click on the green hammer.
There’s now a bin/ios folder inside build, this is where the framework (that is where the app framework is — don’t worry, with the latest changes on the platform this process is now automatic).
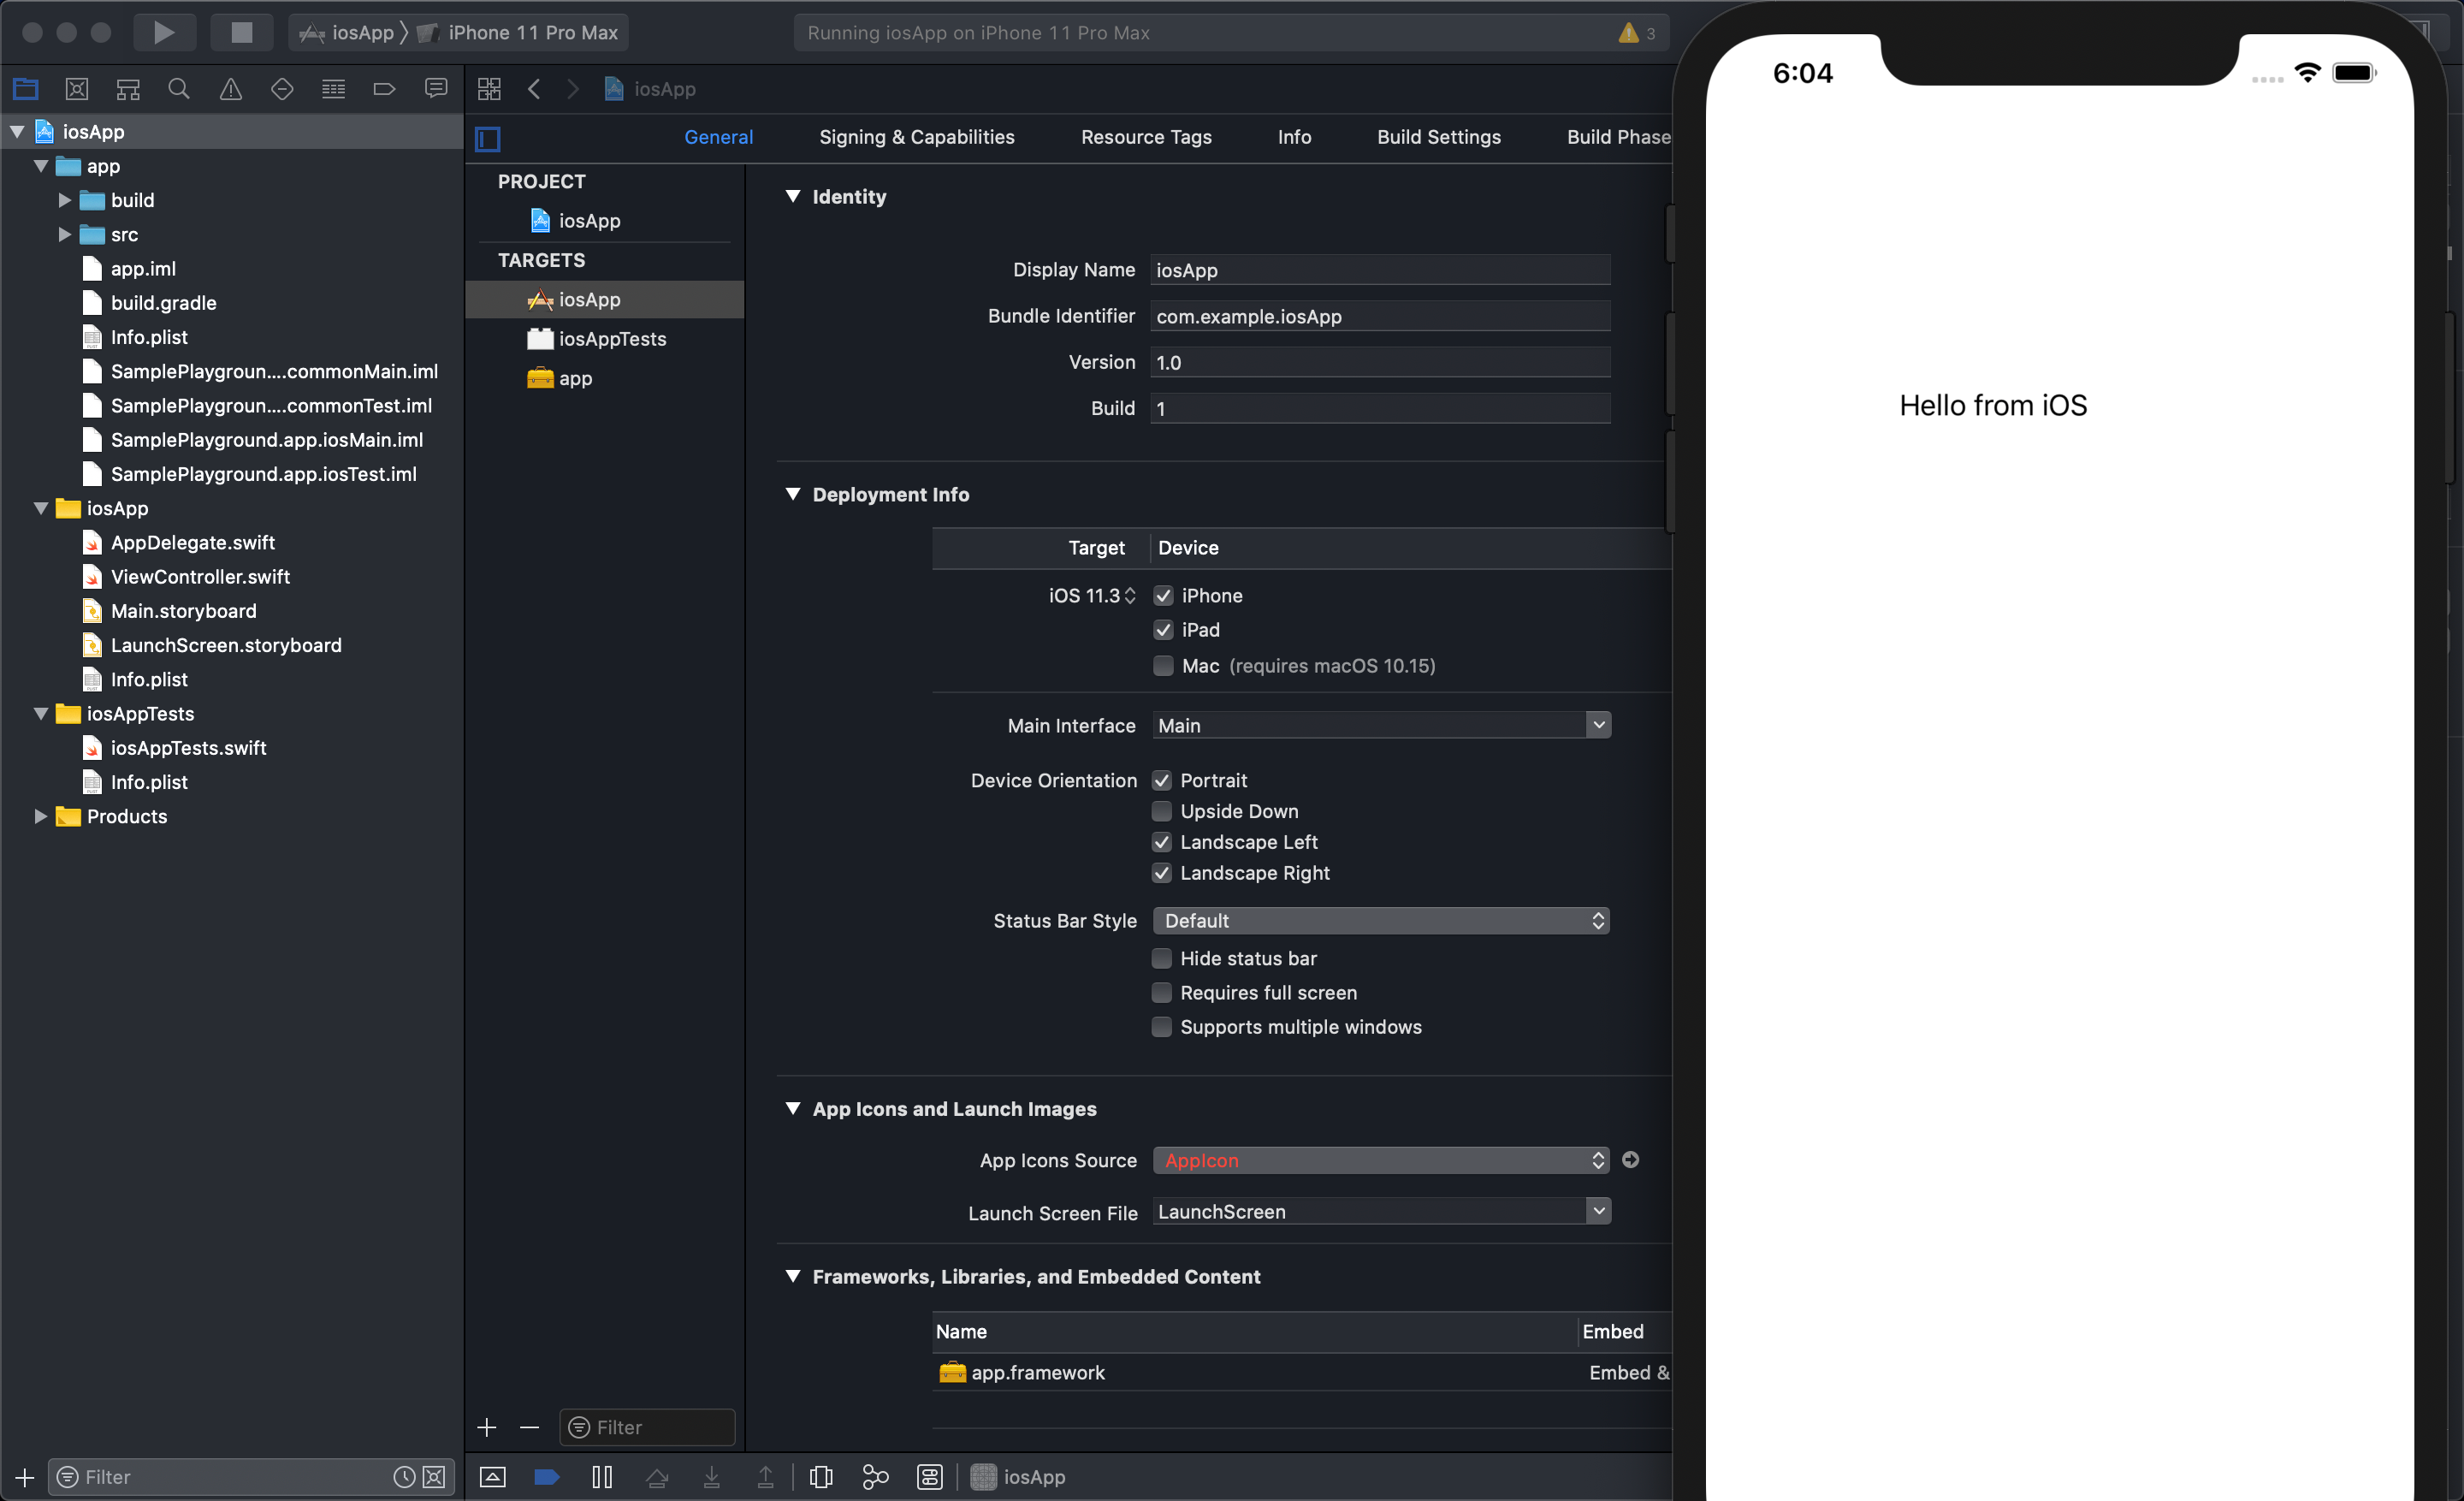
It’s time to open Xcode! In order to open the xcodeproj go to the root of your project and select iosApp/iosApp.xcodeproj
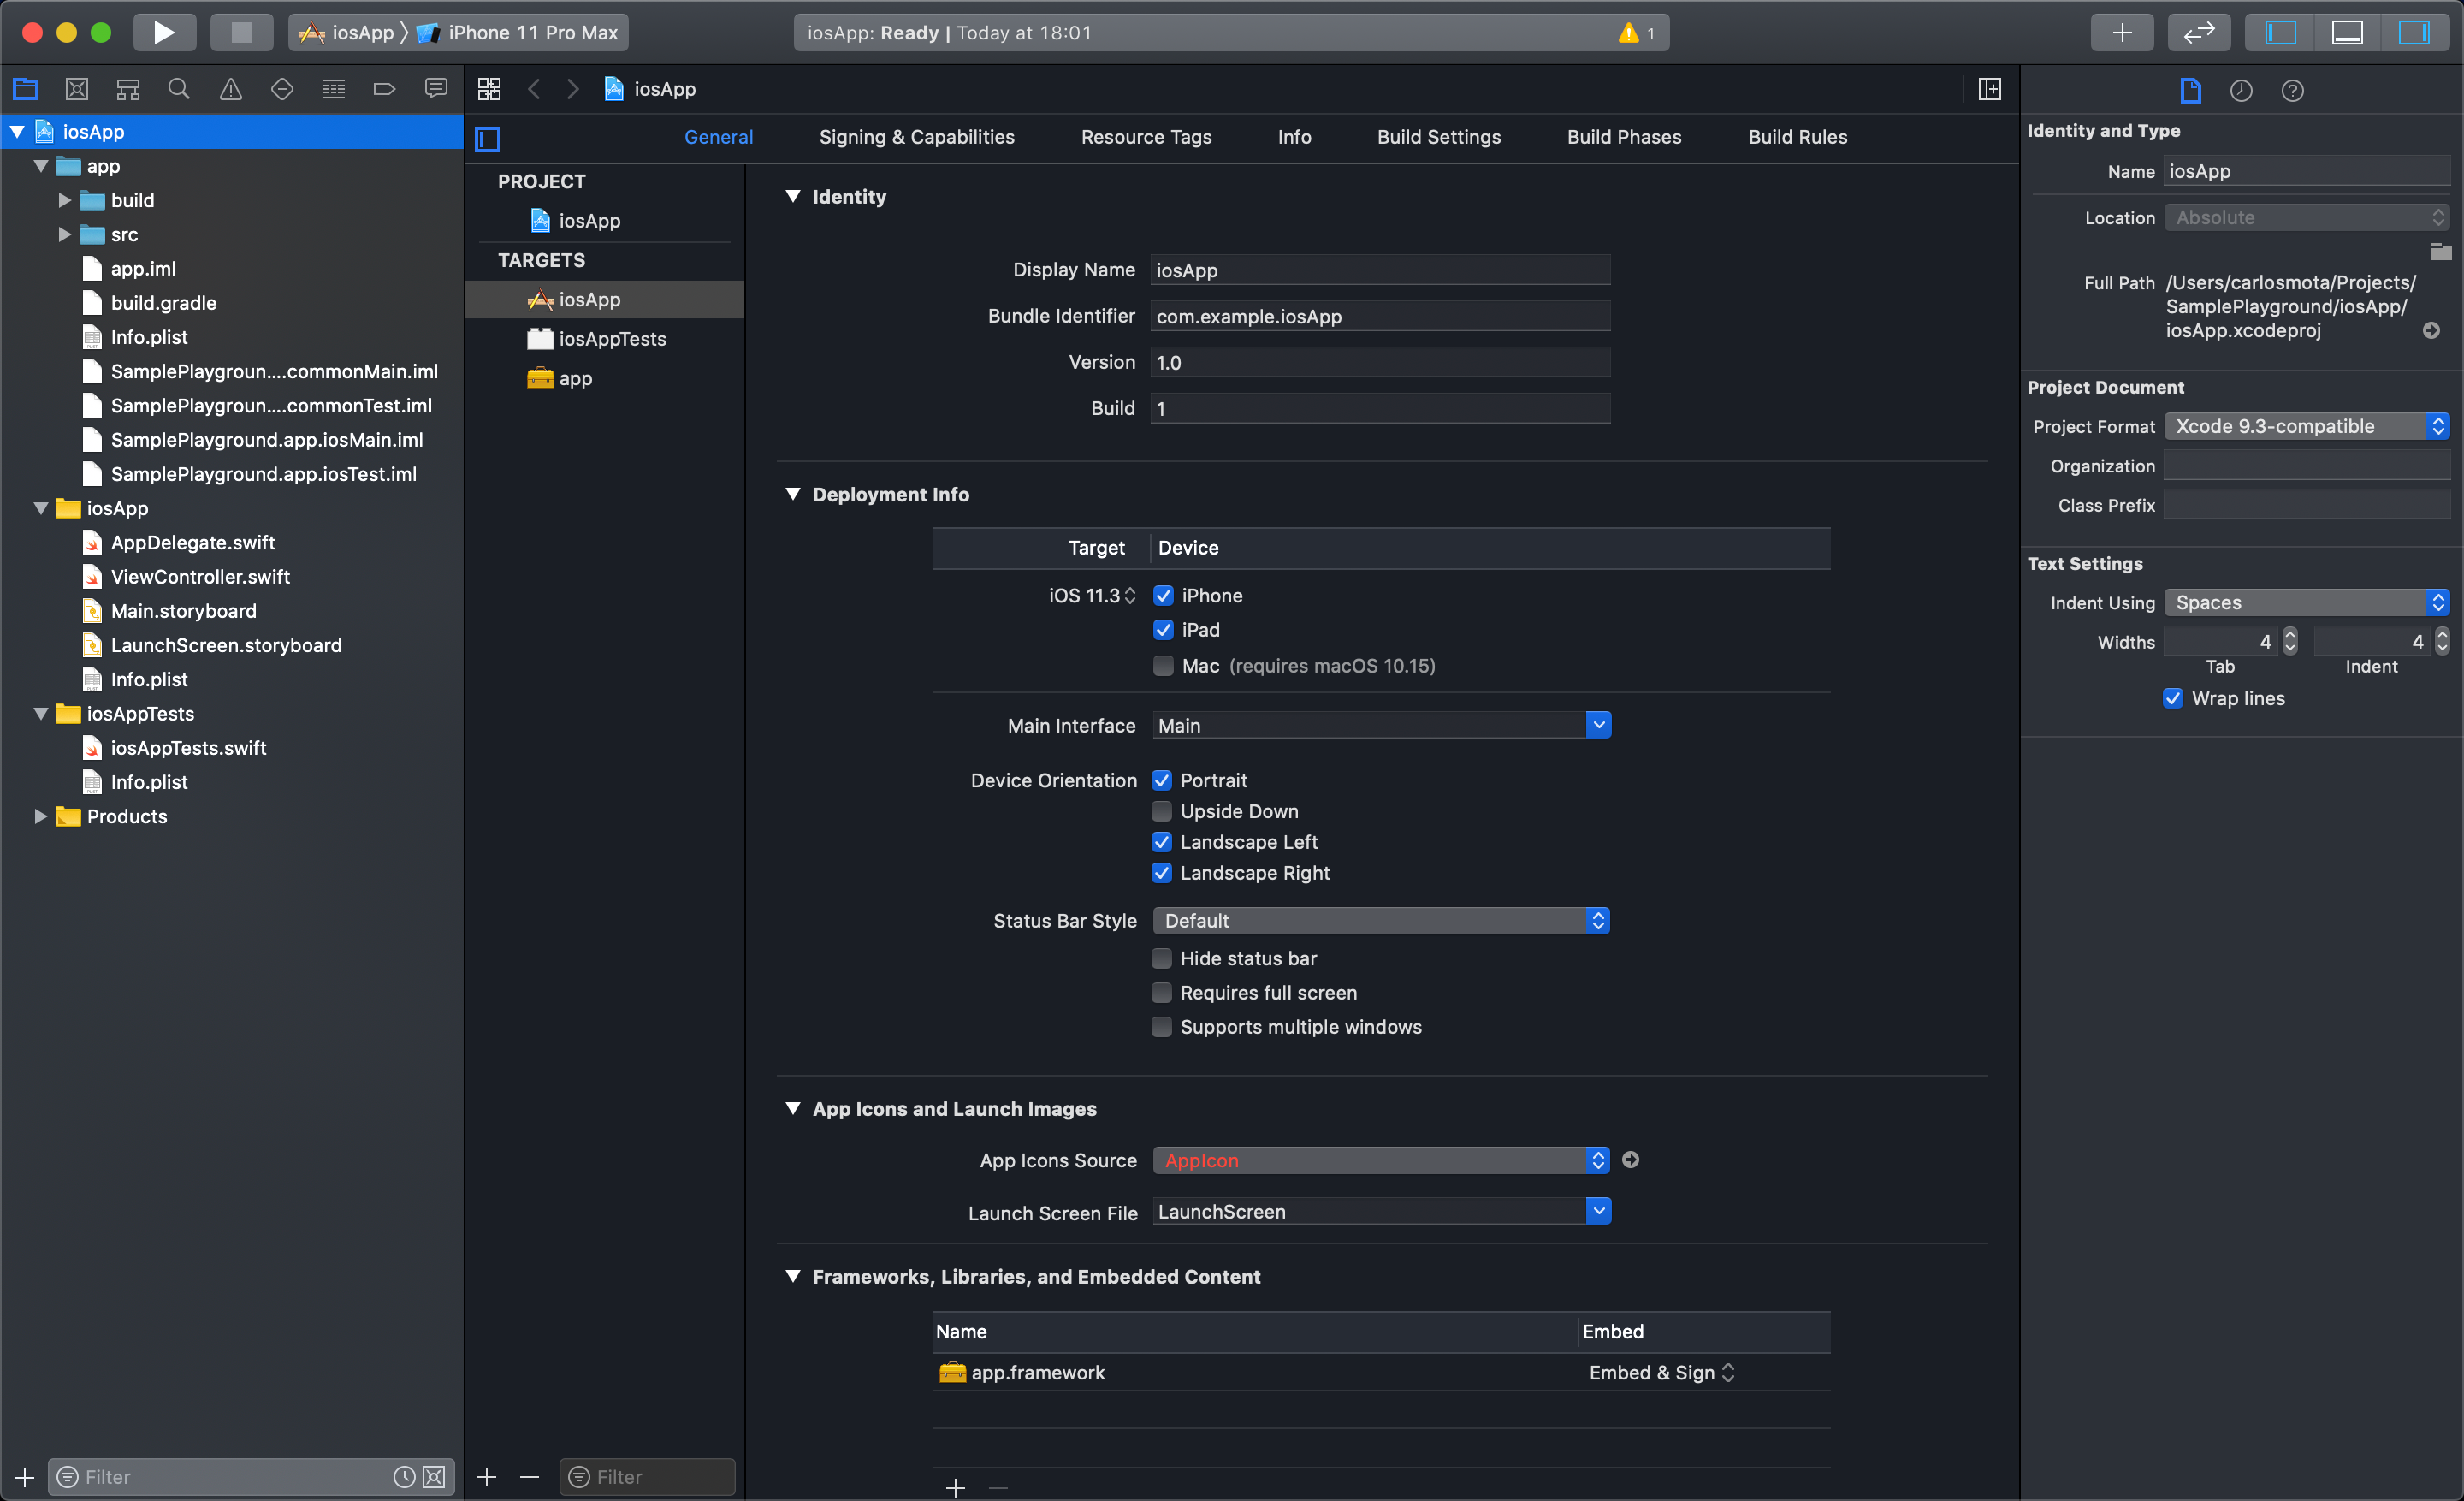
We can see all the iOS components on the left panel as we’re used to. Now let’s click on run to compile and install the application.
We’ll automatically see an error saying that gradlew does not exist.
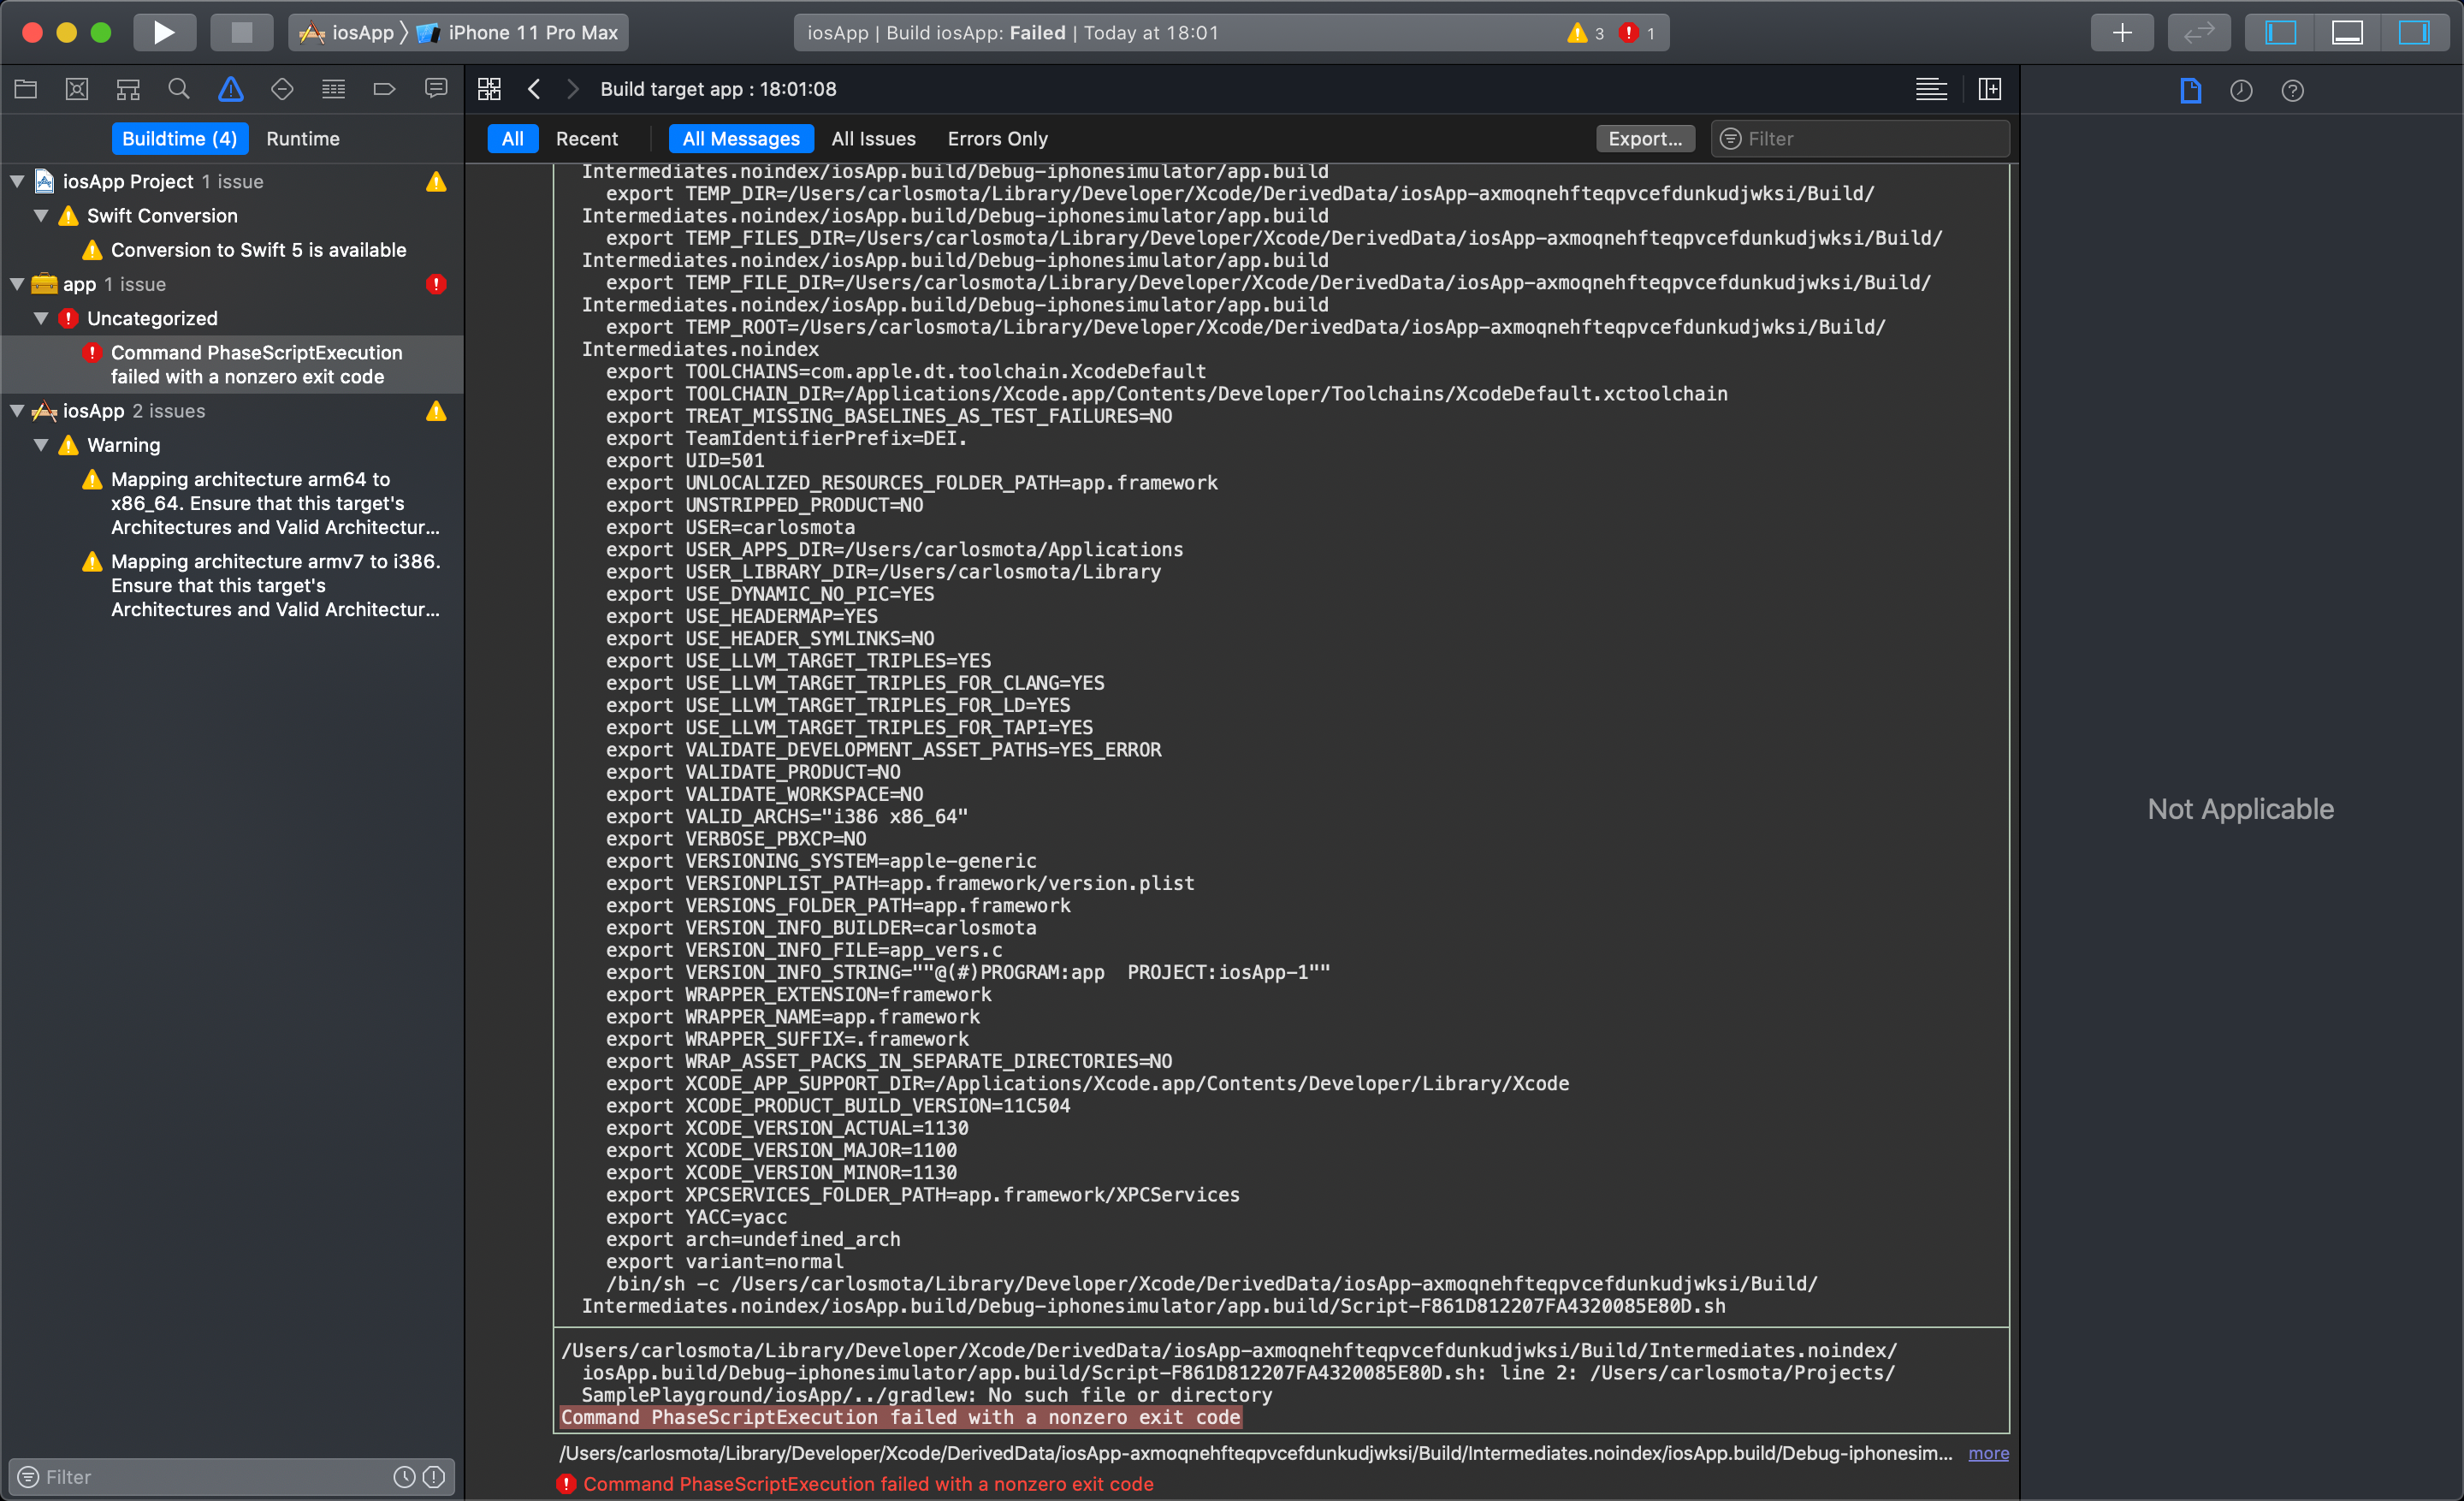
This happens because gradlew is still not added to the newly created project, we need to do this manually. To do this go, go to the terminal (you can do this directly from IntelliJ by going to the Terminal tab on the bottom bar) and write:
gradle wrapper
Now that everything is in place, let’s get back to Xcode and click on run once again to see our application running on the iOS simulator
Do you have a better approach? Something didn’t quite work with you? Feel free to send me a message 🙂.